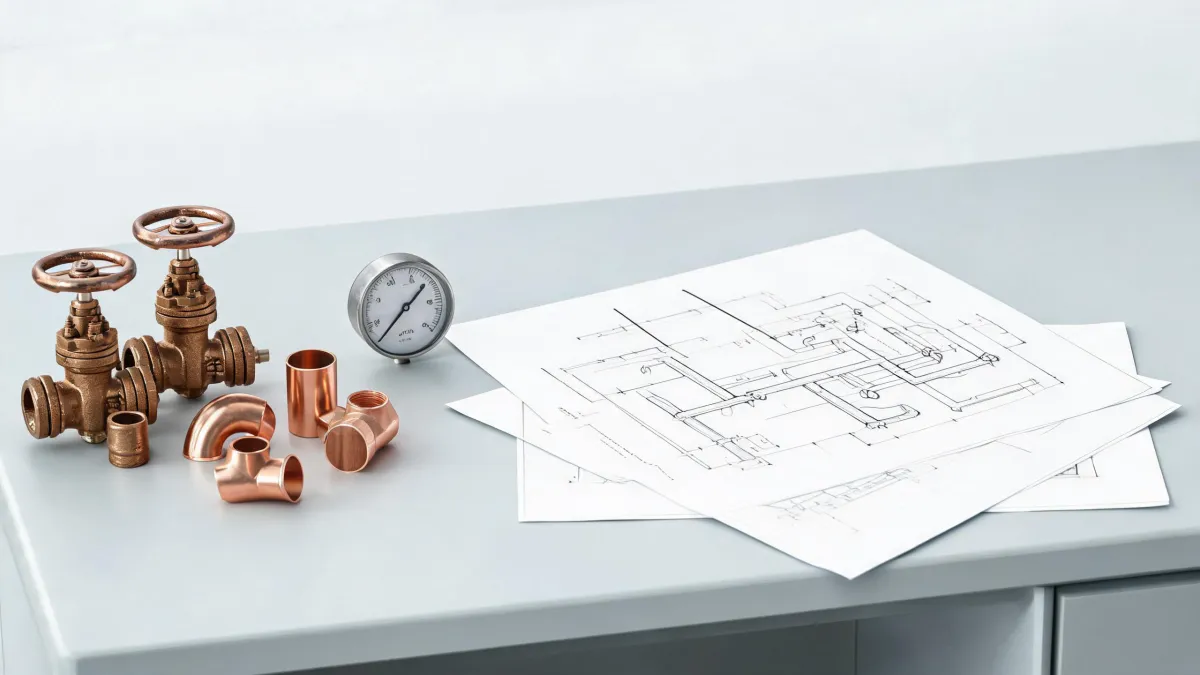
No Single Emergency Kit Works for Every Call
Look, there is no universal answer for emergency repair prep. It depends on three variables: what failed, what you have on the truck, and what your digital drawings say. I break it into three scenarios: an active valve or check valve failure, small repair and tool stocking, and digital prep and documentation. If you are a small shop placing a $200 order, that still matters. Some of our best long-term suppliers started with a small trial order.
I coordinate emergency maintenance orders for a facility services company. I have handled 40-plus rush orders in six years, including same-day turnarounds for property management clients. Last quarter alone, we processed 47 rush orders—actually 43, I would have to check the log. Around 95% on-time.
This was accurate as of March 2025. NIBCO catalogs, Bluebeam versions, and safety standards change, so verify current specs before you order or install.
Scenario 1: An Active Valve or Check Valve Failure
If fluid is moving when it should not, or you are hearing water hammer, stop. Isolate the line and follow OSHA lockout/tagout requirements (29 CFR 1910.147). Safety first, then parts.
When a NIBCO silent check valve is the right replacement
NIBCO silent check valves are typically used to prevent backflow and reduce slam or water hammer in systems where a standard swing check would be too slow. But not every line needs one. Check media, pressure and temperature rating, size, connection type, and spring cracking pressure. According to NIBCO technical documentation at nibco.com, always match the valve to the system design conditions.
Lead-free matters, too. For potable water applications, look for valves that meet NSF/ANSI 61 and NSF/ANSI 372. NIBCO publishes these compliance details in its catalogs. Do not assume a valve is lead-free because it looks bronze. Verify.
In March 2024, 36 hours before a scheduled inspection, a property manager called about a failed check valve on a domestic water line. Normal lead time was three days. We found a local distributor with the right NIBCO silent check valve, paid a rush fee, and had it installed the next morning. Missing that inspection would have meant a compliance write-up and a follow-up visit. Not ideal. But workable.
When a NIBCO Classic Pro repair kit makes sense
If the body is sound and the failure is in the wearable parts—stem, seat, seals—a NIBCO Classic Pro repair kit can be faster and cheaper than a full valve swap. But it depends on the valve model. Some valves are not designed for field repair. Check the kit number against the valve tag and NIBCO's current repair kit guide. If you are not sure, call the supplier. Ask for the catalog page, not a guess.
There is something satisfying about a rush repair where the right kit turns a 4-hour valve swap into a 45-minute fix. After the stress and coordination, finally seeing the line back in service—that is the payoff.
Scenario 2: You Are a Small Team Stocking for Emergency Repairs
Small orders get overlooked. They should not. A one-wrench order today can become a $20,000 contract later. I have been on both sides. When I was starting out, the vendors who treated my $200 orders seriously are the ones I still use for larger jobs. Small does not mean unimportant—it means potential.
Why a ratcheting combination wrench set earns its spot
A ratcheting combination wrench set is not a replacement for a calibrated torque wrench on critical joints. But for emergency isolation, bracket work, and valve packing adjustments, it saves knuckle skin and minutes. Get a set with sizes that match your most common NIBCO valves and fittings. 5/16 to 1 inch, maybe 8 to 24 mm. Do not buy the cheapest set. Do not buy the most expensive either. Mid-range, lifetime warranty, good teeth count.
Three things: organize by size. Keep it in the truck. Replace missing sizes immediately. In that order.
To be fair, a full tool chest has more options. But for a small facility tech, a focused ratcheting combination wrench set plus a couple of adjustable wrenches covers most calls. That said, if you are doing press fittings, you need the dedicated press tool—no wrench substitutes.
Rush fees? If a supplier can get you a NIBCO silent check valve or a NIBCO Classic Pro repair kit in 24 hours when the line is down, the premium may be worth it. At least, that has been my experience with deadline-critical facility repairs. But if you have a planned shutdown, standard lead time is almost always better.
Scenario 3: You Are Preparing Digital Drawings and Tool Chests
Digital prep is not optional anymore. If you are managing a project in Bluebeam Revu, you need a consistent tool chest. It is how you mark up valves, fittings, and repair areas without redrawing the same symbol fifty times.
How to import a tool chest in Bluebeam
According to Bluebeam support at support.bluebeam.com, the usual steps are: open the Tool Chest, right-click in the Tool Chest panel, choose Import, then select the .btx file. If you are on a newer version, the menu wording may be slightly different, but the concept is the same. You can also import individual tool sets or create a custom set from scratch.
One warning: do not import every tool chest you find online. A bloated chest slows you down. Build one for your common NIBCO valves, check valves, and repair kit callouts. Add symbols for isolation valves, check valves, pressure gauges, and pipe sizes.
If you are importing a tool chest in Bluebeam, test it on a sample PDF before the deadline. I learned that the hard way when a custom .btx file was built for the wrong scale. The symbols looked fine until we printed. Then they were half the size. We fixed it, but lost an hour. A lesson learned the hard way.
And keep your documentation straight. A lawn mower manual is fine for a lawn mower. For a commercial valve, you need the manufacturer's installation, operation, and maintenance manual. Same principle: the right document for the right asset. If you are importing a tool chest in Bluebeam, make sure the symbol set matches the project's latest P&IDs. Otherwise you are marking up the wrong drawing.
How to Tell Which Scenario You Are In
Ask four questions:
- Is the system leaking or failing right now? If yes, Scenario 1. Isolate, verify, replace or repair. Do not linger.
- Are you stocking or placing a small order? Scenario 2. Buy the ratcheting combination wrench set that fits your common valves. Find a supplier that respects small orders.
- Are you preparing drawings or field markups? Scenario 3. Learn how to import a tool chest in Bluebeam and standardize your symbols.
- Are you working on a lawn mower or a commercial piping system? If it is a lawn mower, the lawn mower manual may be enough. If it is commercial piping, use NIBCO technical docs and follow local codes.
Most emergency calls are a mix. A valve fails, you need the right kit, and you need the drawing marked up for the report. That is normal.
I am not 100% sure what your exact system needs. Neither is any article. Verify the model, the rating, and the current NIBCO catalog. But if you handle those three scenarios, you are ahead of most.
Prices and availability change. This was accurate as of March 2025. Verify current NIBCO product data, Bluebeam support articles, and OSHA requirements before you order or install.