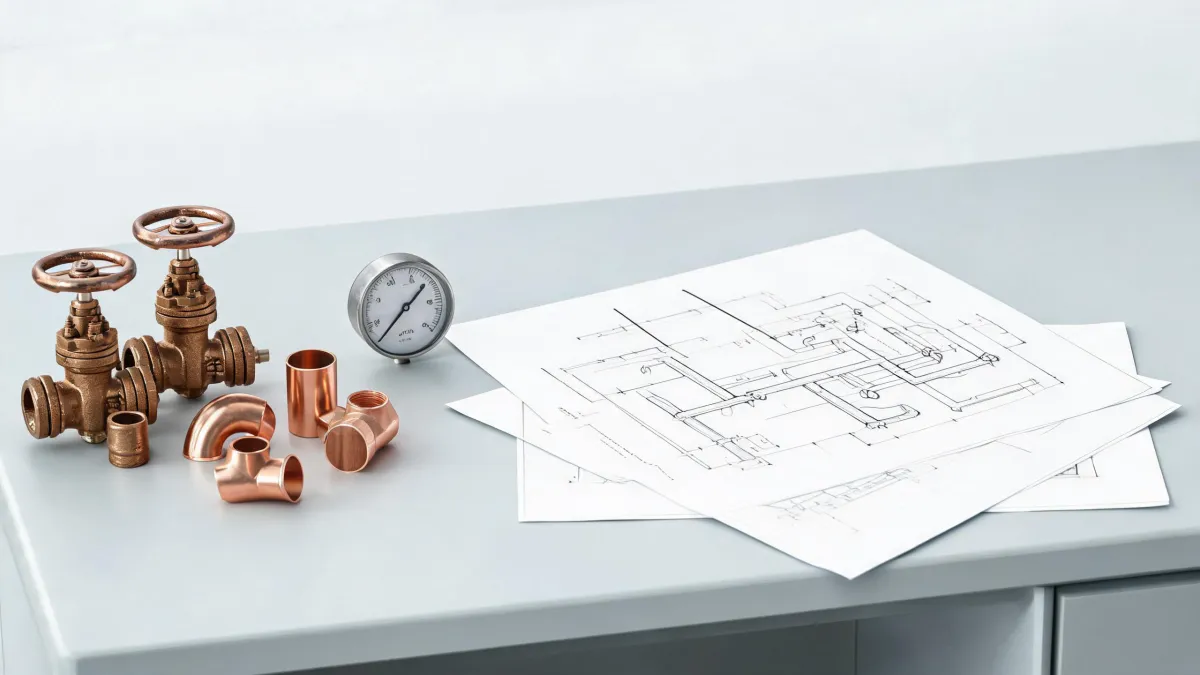
Can a gate valve be repaired? is one of those questions that sounds easy until you are the person holding the wrench. As the quality compliance manager at a regional plumbing wholesaler, I review every NIBCO shipment before it reaches a counter or a jobsite. Roughly 200 product lines cross my inspection bench each month—valves, fittings, repair kits, and the occasional product that came back from the field with a bad reputation and no actual defect. The difference between a smart repair and a money pit comes down to five checks.
- Find the exact model number and connection type.
- Identify the failure: stem seal, seat, body, or installation.
- Ask whether the worn part was designed to be serviced.
- Use the correct repair kit.
- Plan a pressure test before you button it up.
Use that order on a gate valve, a frost-free faucet, or a sweat fitting and you stop wasting money. Here is how each one looks in practice.
Can a Gate Valve Be Repaired?
Sometimes yes. Often no. The honest answer depends on where the water is coming out.
If the leak is around the stem—dripping from the handle or packing nut area while the valve is open—that is usually a repairable condition. On a typical NIBCO bronze gate valve, the stem is sealed by packing or an O-ring under the packing nut. With the line isolated and drained, you can replace that sealing material without removing the valve body. I have watched a 3/4-inch gate valve go from condemned to working fine in about fifteen minutes and a few dollars worth of packing. In my first year in this job I would have replaced that valve without thinking about it. I was wrong.
If the valve is fully closed and water still passes through, the wedge and seat are not sealing. On most 1/2-inch through 2-inch sweat- or thread-end bronze gate valves, the seat is not a field-serviceable part. Tightening the handle harder will not fix a worn seat, and amateur seat-grinding attempts usually make things worse. Replace the valve. This is the less satisfying answer, but it is the one that prevents a callback.
So make the question more precise: repair a leaking stem, replace a leaking seat. And if water is coming from a pinhole in the body or a cracked bonnet, replace it too. No packing or washer fixes a body leak. Never remove a valve bonnet while the line is under pressure. Isolate and drain first.
NIBCO Frost-Free Faucet Repair Checklist
A frost-free faucet (NIBCO catalogs usually say 'frost-proof wall hydrant' or 'sillcock') is a compression valve at the end of a long stem. The actual shutoff happens at the rear of the hydrant body, inside the heated space. That is what lets the riser drain when the faucet is closed.
When someone tells me a frost-free faucet leaks, my first question is: from where? Water dripping out of the spout after the faucet is closed means the seat washer at the far end is worn. Water leaking around the handle means the stem seal is the problem. Those are two different repairs.
- Shut off the supply and open the hydrant to release pressure. Remove the handle screw and handle. On most models, the stem assembly can then be worked out as a unit. If it fights you, stop and check for a set screw or locking collar.
- Look at the far end of the stem. There is a seat washer or plunger seal, usually held by a brass screw and backed by a spring. If the rubber is cracked, swollen, or grooved, replace it. That spring is smaller than you expect. Do not lose it.
- Inspect the seat inside the body with a bright light and a small mirror. If the seat is pitted or deeply scored, a new washer will fail quickly. Replace the hydrant. If the seat is smooth and round, keep going.
- Clean mineral buildup off the stem, apply a light coat of silicone faucet grease, and reassemble with the manufacturer's repair parts for that model. This is where searching for a NIBCO frost free faucet repair kit pays off: a matching kit contains the right seat washer angle, spring, and O-rings. A random washer from the parts bin usually does not.
- Open the supply slowly. Close the hydrant and watch the spout and handle area for several minutes. Then cycle it open and closed five or six times. A proper frost-free hydrant drains itself after every close, assuming no hose is attached and the body slopes slightly toward the spout. If it holds water, check the installation before blaming the repair.
NIBCO Sweat Fittings: Check Before You Heat
Most solder joint failures are prep failures, not product failures. The quality checks happen before the torch is lit. Copper tube should meet ASTM B88; NIBCO wrot copper fittings are made to ASME B16.22, and cast bronze fittings to ASME B16.18. In plain English: if the parts are in spec, the joint comes down to installation.
Cut the pipe square. Deburr the inside and outside. Clean the outside of the tube and the inside of the fitting cup down to bright copper. Apply flux to both surfaces. Push the tube fully into the fitting until it seats against the cup stop. Then heat the joint and feed solder where the tube enters the cup. Solder pulls into the joint when the temperature is right.
Here is the step most people ignore: check the internal stop before you assemble. If the tube is not fully bottomed in the fitting, you lose engagement depth and change the take-out distance. The joint might not leak immediately, but it is weaker and can fail later. NIBCO publishes dimensional data and take-off information for its fittings; when in doubt, look it up rather than assuming.
Use lead-free solder on potable water lines. Many jurisdictions also require the fitting body itself to meet lead-free requirements such as NSF/ANSI 372. Check the markings and check local code. And always pressure test after the joint cools.
Flat Washers, USS Washers, and the Parts-Bin Trap
When a field repair fails, the wrong washer is often involved. There are rubber seat washers, spring washers, packing washers, and metal flat washers. They are not interchangeable.
On flat washers, the description that causes the most mix-ups is 'flat washers, USS washers.' USS comes from the old United States Standard. A USS flat washer has a larger outside diameter and generally heavier cross-section than an SAE washer of the same nominal bolt size. If an equipment spec calls for USS washers, an SAE washer is not a substitute just because it slides over the bolt. The whole point of the USS washer is spreading the load over a wider area.
Keep your hardware drawers labeled. On a valve repair, the correct seat washer and O-rings come from the manufacturer's kit. The metal flat washers are usually for mounting the valve, not for sealing it. Do not mix the two.
One Tool That Keeps Brass Nuts Round: The 86 04 100 Pliers Wrench
Too many leaky faucets and valves get worse because someone rounded the packing nut with the wrong tool. A pipe wrench will grip almost anything, but it is the wrong choice on a chrome or brass trim nut. A parallel-jaw pliers wrench holds the nut without crushing or rounding it.
If you search for a pliers wrench XS 86 04 100 official, you are looking at the 100 mm version, which is a compact size for small hex nuts and trim work. The XS label tells you it is small; a full-size pliers wrench can be too bulky for jobs like sillcock packing nuts and supply stops. Do not get hung up on the word 'official' in the search results. The 86 04 100 is simply the model number for that compact size. Buy from a tool supplier you trust, and the metal will do the rest.
Test It Like You Want No Callbacks
No repair is forever. A quality repair is one with a predictable next service interval and no surprise leaks in between. So test everything before you call it done.
Turn the supply on slowly. Cycle the valve or faucet several times. Tighten packing nuts only enough to stop the leak; a binding stem is worse than a drip. For sweat joints, test at system pressure and look for weeping. Dry all joints before the test so new leaks are easy to spot. Check again after ten or fifteen minutes.
A fair warning about my experience: this is based on reviewing standard wholesale NIBCO valves, fittings, and repair kits in residential and light commercial plumbing. If you are maintaining a 6-inch flanged gate valve in an industrial plant, the calculus changes. Large valves often have replaceable seat rings and wedges, and the repair decision is worth a specialist's opinion.
Use the same sequence whether you are deciding if a gate valve can be repaired or rebuilding a frost-free sillcock: identify the model, locate the failure, use the right kit, and prove it with a test. That is quality control you can take to the bank.